检查点
Create HelloWorld HTTP Cloud Function
/ 50
Create Gopher HTTP Cloud Function
/ 50
HTTP Google Cloud Functions in Go
GSP602

Overview
Go is an open source programming language that makes it easy to build simple, reliable, and efficient software. Go is already installed when using Cloud Shell.
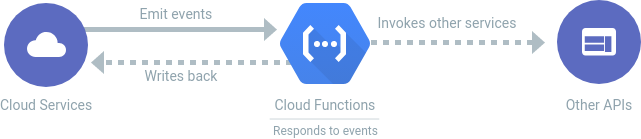
Cloud Functions is an event-driven serverless compute platform. Cloud Functions allows you to write your code without worrying about provisioning resources or scaling to handle changing requirements.
There are two types of Cloud Functions:
- HTTP functions respond to HTTP requests. You'll build one in this lab.
- Background functions are triggered by events, like a message being published to Cloud Pub/Sub or a file being uploaded to Cloud Storage. This address this in this lab, but you can read more in the documentation.
In this lab you will create your own Google Cloud Function in Go.
What you will build
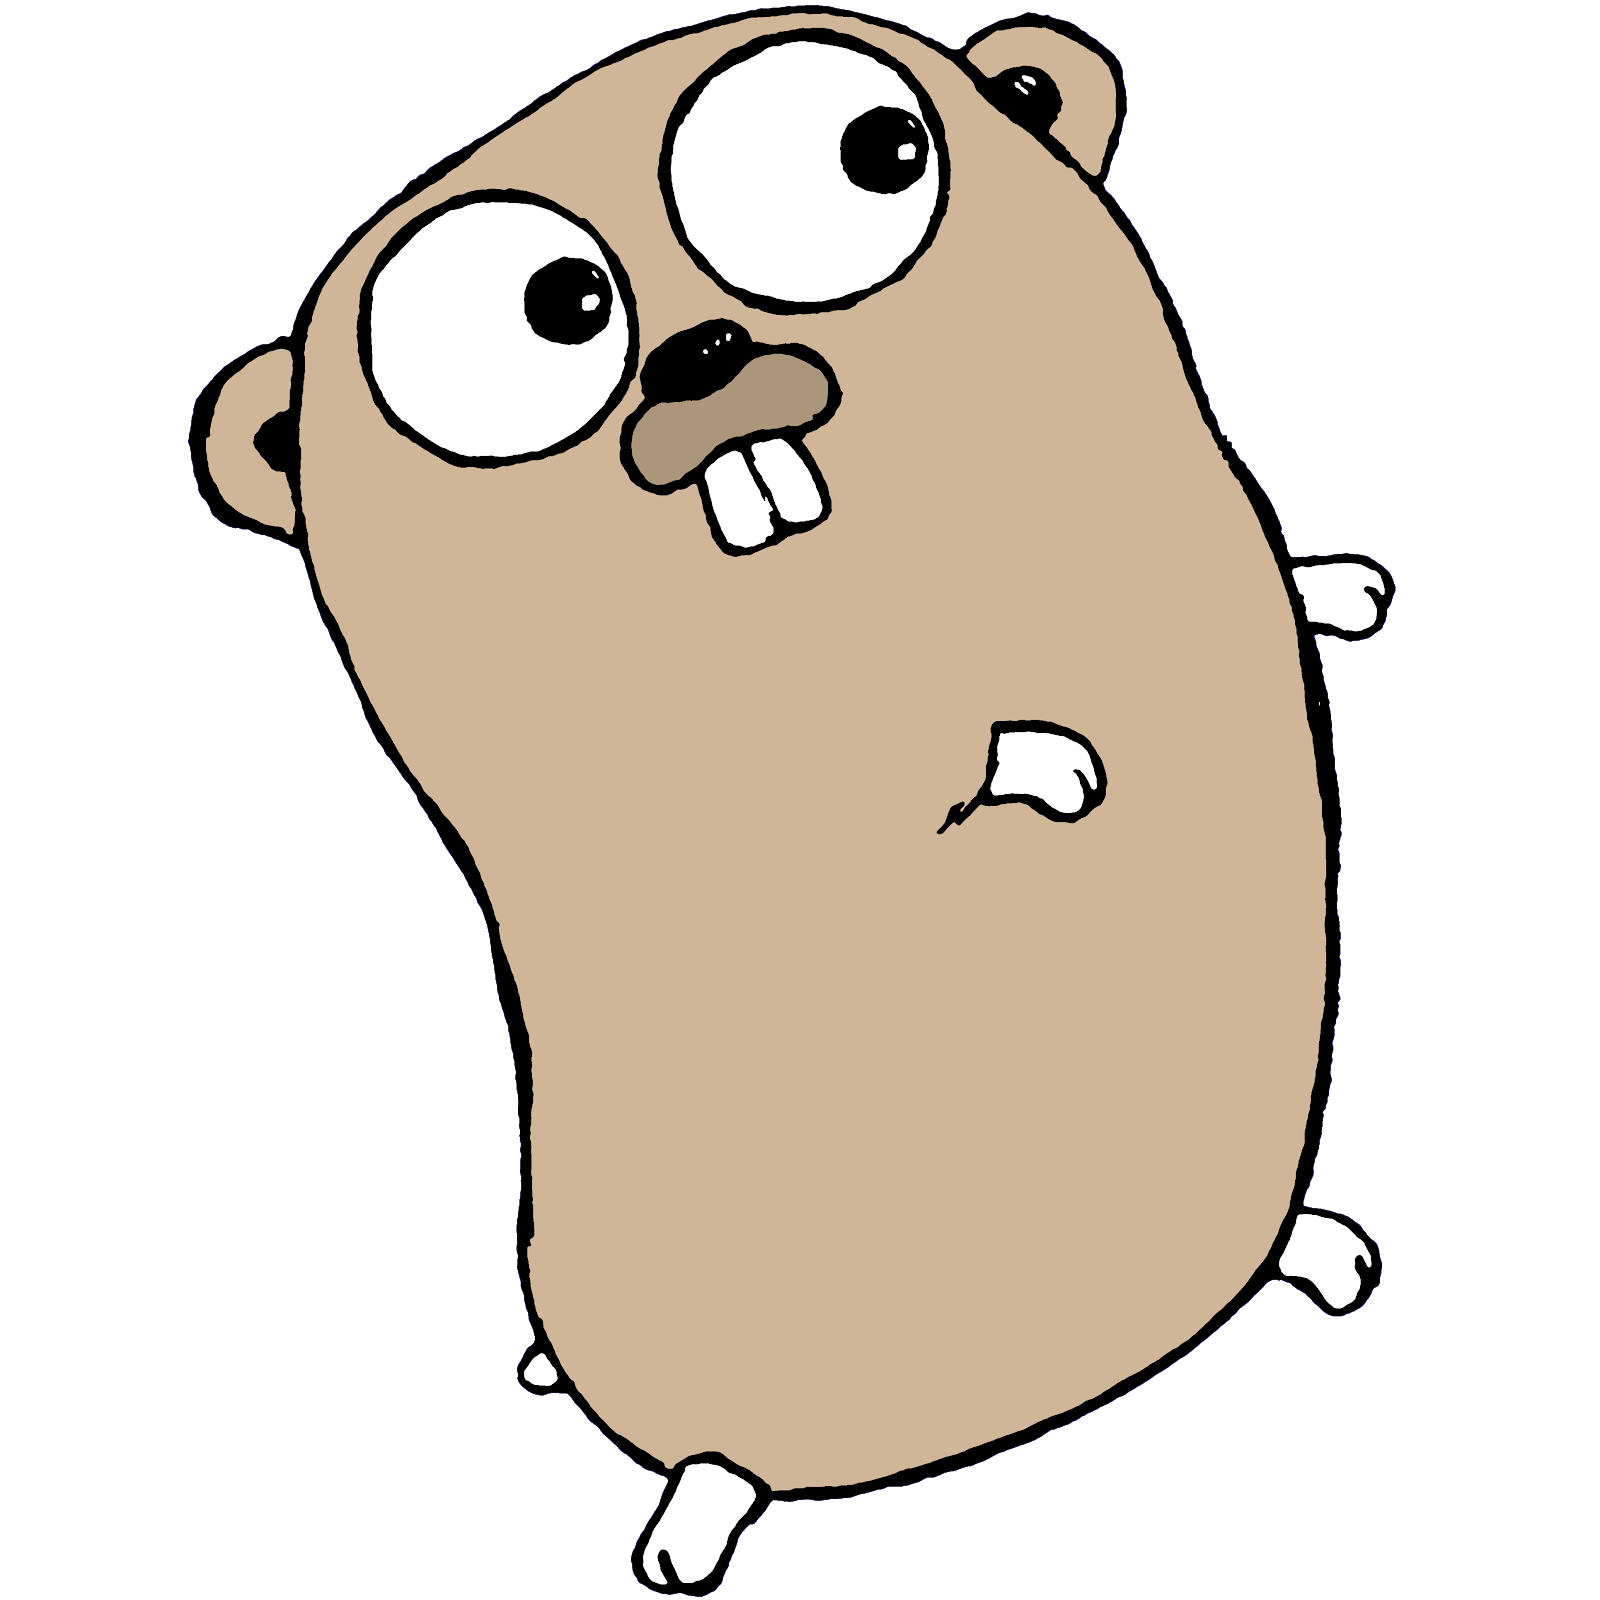
In this lab, you will publish a Cloud Function that, when invoked via HTTP, will display an image of the Go gopher, designed by Renee French.
What you will learn
- How to write an HTTP Cloud Function in Go.
- How to test an HTTP Cloud Function in Go.
- How to run a local Go HTTP server to try the function.
Setup and requirements
Before you click the Start Lab button
Read these instructions. Labs are timed and you cannot pause them. The timer, which starts when you click Start Lab, shows how long Google Cloud resources will be made available to you.
This hands-on lab lets you do the lab activities yourself in a real cloud environment, not in a simulation or demo environment. It does so by giving you new, temporary credentials that you use to sign in and access Google Cloud for the duration of the lab.
To complete this lab, you need:
- Access to a standard internet browser (Chrome browser recommended).
- Time to complete the lab---remember, once you start, you cannot pause a lab.
How to start your lab and sign in to the Google Cloud console
-
Click the Start Lab button. If you need to pay for the lab, a pop-up opens for you to select your payment method. On the left is the Lab Details panel with the following:
- The Open Google Cloud console button
- Time remaining
- The temporary credentials that you must use for this lab
- Other information, if needed, to step through this lab
-
Click Open Google Cloud console (or right-click and select Open Link in Incognito Window if you are running the Chrome browser).
The lab spins up resources, and then opens another tab that shows the Sign in page.
Tip: Arrange the tabs in separate windows, side-by-side.
Note: If you see the Choose an account dialog, click Use Another Account. -
If necessary, copy the Username below and paste it into the Sign in dialog.
{{{user_0.username | "Username"}}} You can also find the Username in the Lab Details panel.
-
Click Next.
-
Copy the Password below and paste it into the Welcome dialog.
{{{user_0.password | "Password"}}} You can also find the Password in the Lab Details panel.
-
Click Next.
Important: You must use the credentials the lab provides you. Do not use your Google Cloud account credentials. Note: Using your own Google Cloud account for this lab may incur extra charges. -
Click through the subsequent pages:
- Accept the terms and conditions.
- Do not add recovery options or two-factor authentication (because this is a temporary account).
- Do not sign up for free trials.
After a few moments, the Google Cloud console opens in this tab.

Activate Cloud Shell
Cloud Shell is a virtual machine that is loaded with development tools. It offers a persistent 5GB home directory and runs on the Google Cloud. Cloud Shell provides command-line access to your Google Cloud resources.
- Click Activate Cloud Shell
at the top of the Google Cloud console.
When you are connected, you are already authenticated, and the project is set to your Project_ID,
gcloud is the command-line tool for Google Cloud. It comes pre-installed on Cloud Shell and supports tab-completion.
- (Optional) You can list the active account name with this command:
- Click Authorize.
Output:
- (Optional) You can list the project ID with this command:
Output:
gcloud, in Google Cloud, refer to the gcloud CLI overview guide.
Set your region and zone
Certain Compute Engine resources live in regions and zones. A region is a specific geographical location where you can run your resources. Each region has one or more zones.
Run the following gcloud commands in Cloud Console to set the default region and zone for your lab:
Ensure the Cloud Functions API is enabled
- Run the following command from Cloud Shell to make sure the Cloud Functions API is enabled. This will make sure you can deploy Cloud Functions later in the lab.
Download and setup the code
- From the Cloud Shell terminal, use
curlto download a zip with the code for this lab:
- Use
unzipto unpack the code. This unpacks a directory (golang-samples-main), which contains sample Go code for cloud.google.com:
- Change to the directory containing the code for this lab:
The gopher directory contains the following directories and files:
Task 1. Introducing HTTP Cloud Functions in Go
HTTP Cloud Functions in Go are written as http.HandlerFunc functions, which is an interface defined in the Go standard library. The function must:
- Be exported, meaning it can be used from another package, which is indicated by the name starting with an uppercase letter.
- Match the
http.HandlerFunctype, meaning the function is of the formfunc(http.ResponseWriter, *http.Request). (See the Writing Web Applications tutorial for an in-depth guide to writing a full web application in Go.)
For example, here is a "Hello, world" function:
golang-samples-main/functions/codelabs/gopher/hello.go. Deploy this function as an HTTP Cloud Function
- From the
functions/codelabs/gopherdirectory you can deploy the function name withgcloud functions deploy:
- Enter
Ywhen asked to allow unauthenticated invocations of new function.
This will take a minute or two.
Output:
Click Check my progress to verify the objective.
- Is the Cloud Functions API enabled? If not, there will be an error with a link allowing you to enable it. Otherwise, you can enable it with the command
gcloud services enable cloudfunctions.googleapis.com. - Be sure your working directory (where you're running
gcloudfrom) is the directory with the.gofile in it. You can change directories usingcd golang-samples/functions/codelabs/gopher. - Is the function name correct? It should be
HelloWorld, the name of the Go function you're trying to deploy.
- Copy the
httpsTriggerURL that's displayed in the output. It will have a form like this:
- To test the
HelloWorldfunction,curlinto the URL from the last output:
Output:
You've written and deployed a HTTP Cloud Function!
Task 2. Writing the Gopher HTTP Cloud Function
Now make the "Hello, world" function a bit more entertaining by printing an image of a Gopher for every request.
The following block shows the code to make it happen. You can see this code in Cloud Shell at golang-samples-master/functions/codelabs/gopher/gopher.go.
-
The file starts with a package declaration and comment. All Go code is written inside a package, with a declaration like this at the top.
-
The
importblock contains a list of other packages that this file depends on. These packages are referred to in the rest of the file using their name. For example, to use theResponseWritertype from thehttppackage, you writehttp.ResponseWriter. -
Next is the
Gopherfunction declaration. -
The function starts by reading the
gophercolor.pngfile (see the sample code) using theos.Openfunction. -
Then, it checks whether there was an error reading the file, which might occur if the file is corrupted or was accidentally left out of the upload.
-
It uses
io.Copyto copy the gopher image tow, thehttp.ResponseWriterargument. Everything written towwill be sent in the HTTP response. -
If there was no error when writing the response, the function returns normally.
- Deploy this function as you did the "Hello, world" function from before, using
gcloud functions deployand the name of the function,Gopher:
-
Enter Y when asked to allow unauthenticated invocations of new function.
-
To test the function, visit the function's URL in the output from the last command. If everything is working correctly, you will see the gopher in your browser!
The next step is to add a test to make sure your function continues to work.
Click Check my progress to verify the objective.
Task 3. Writing a test
HTTP Cloud Functions in Go are tested using the testing and httptest packages from the standard library. There is no need to run an emulator or other simulation to test your function—just normal Go code.
Here is what a test looks like for the Gopher function:
- Go tests are written the same way as other Go files. They start with a package declaration and set of imports.
- The test declaration is of the form
func MyTest(t *testing.T). It must be exported and take one argument of type*testing.T. - The test creates test response and request values using the
httptestpackage. - It calls the Gopher function.
- After invoking the Gopher function, the test checks the HTTP response code to be sure there were no errors.
- To run these tests locally,
cdto the directory with the files you're testing:
- In the
golang-samples-main/functions/codelabs/gopherdirectory, use thego testcommand:
Output:
- Check the error message for anything helpful.
- Are you in the same directory as the
gopher.goandgopher_test.gofiles (golang-samples-main/functions/codelabs/gopher)?
Next, you'll create a binary (package main, in Go) so that you can run your function locally and try it in a browser.
Task 4. Running the function locally
To run an HTTP function locally, create an HTTP server and register your function as a handler. (See the Writing Web Applications tutorial for an in-depth guide to writing a full web application in Go.)
You can write an HTTP server for your function in a subdirectory of your function.
Following a Go convention, you name that directory cmd and create a main.go file inside it:
- This file uses
package mainas the package. Amainpackage will be built as a binary that you can run. - This file imports
github.com/GoogleCloudPlatform/golang-samples/functions/codelabs/gopher, based on themoduleline of thego.modnext to your function file. When you're writing your own functions, you can name the module whatever you prefer. - The
func main()is the entry point for the binary. It registers thegopher.Gopherfunction as an HTTP handler then starts the server usinghttp.ListenAndServe.
- To build and run this binary locally, run the following commands:
Output:
-
Because the function loads the
gophercolor.pngimage from the current working directory, you have to start your binary from the same directory as thegophercolor.pngfile. The-o startflag says to name the output binarystart. The./cmdsays to build the binary located in thecmddirectory. -
Now use the Cloud Shell Web Preview to test the server in your browser.
- Click the Web Preview button
.
- Select port
8080from the displayed menu.
Cloud Shell opens the preview URL on its proxy service in a new browser window. The web preview restricts access over HTTPS to your user account only.
If everything is working properly, you should see the Go Gopher!
- Are you in the same directory as the
gopher.goandgopher_test.gofiles (golang-samples-main/functions/codelabs/gopher)? - Is the server started? Be sure to build it with the
go build -o start ./cmdcommand, then start it by running./start. It should printListening on localhost:8080. - Did you select the right port when opening the web preview? Be sure to use
8080, the port the server is listening on.
Task 5. Cleaning up
All resources you've used will be deleted when you end this lab. It's always a good idea to know what you would need to do on your own environment to save on cost and to be a good cloud citizen.
-
Stop serving your URL with Ctrl + c.
-
Once you're done testing your Cloud Functions, you can delete it using
gcloud:
You can also delete the function from the Cloud Console.
Congratulations
Now you know how to use Cloud Functions in Go! In this lab, you learned how to write an HTTP Cloud Function in Go, how to test it, and how to run it locally.
Finish your quest
This self-paced lab is part of the Getting Started with Go on Google Cloud quest. A quest is a series of related labs that form a learning path. Completing this quest earns you a badge to recognize your achievement. You can make your badge or badges public and link to them in your online resume or social media account. Enroll in this quest or any quest that contains this lab and get immediate completion credit. Refer to the Google Cloud Skills Boost catalog for all available quests.
Google Cloud training and certification
...helps you make the most of Google Cloud technologies. Our classes include technical skills and best practices to help you get up to speed quickly and continue your learning journey. We offer fundamental to advanced level training, with on-demand, live, and virtual options to suit your busy schedule. Certifications help you validate and prove your skill and expertise in Google Cloud technologies.
Manual Last Updated July 25, 2023
Lab Last Tested July 25, 2023
Copyright 2024 Google LLC All rights reserved. Google and the Google logo are trademarks of Google LLC. All other company and product names may be trademarks of the respective companies with which they are associated.